-
8089 Madison Ave #11
Citrus Heights, CA 95610 - (916) 962-2137
-
Monday-Friday
7:00 am - 6:00 pm - Ages: 6 weeks - 11 years
Request Information
Find out about pricing and availability
Cadence schools across the country are now enrolling for Summer Programs! Be sure to ask if your school is hosting summer camp or any summer programs for school aged children in 2024.
- Overview
- Programs
About The Lil’ School Preschool and Daycare in Citrus Heights, CA
Inspired by several approaches, (Reggio Emilia, European Programs, and Creative Curriculum), we strive to give a well-rounded education that will allow your child to develop into a confident creative thinker.
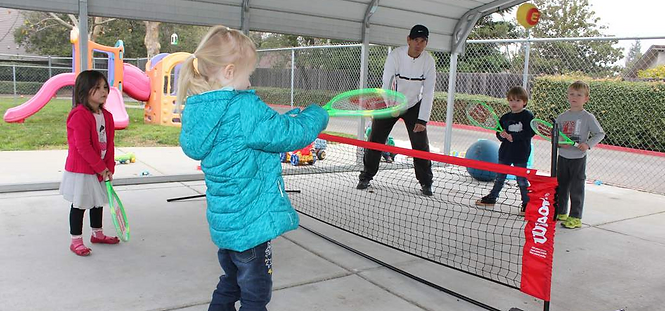
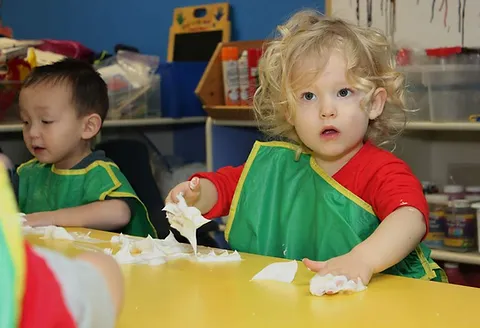
Beyond the ABC’s and 123’s, your children will get an appreciation for the arts, the desire for physical activity, the curiosity to explore their surroundings, and an interest in the welfare of their community.
Your lil’ one will learn by being an active participant whose input will guide the class learning path:
Play-based activities will create many teachable moments using the children’s natural curiosity to lead the discussions. Our teachers act as facilitators, encouraging the children to attain their own knowledge while interacting with their friends.
We promote children’s education through the development of all their languages: expressive, communicative, symbolic, cognitive, ethical, metaphorical, logical, imaginative and relational. And we add an extra focus on literacy, science and mathematics for the pre-k program. Your child will be more than ready for Kindergarten (or TK).
Our active Parents’ Club, will connect you to your child’s education and allow you to get involved in shared celebrations!
A typical day at the Lil’ School?
- Drop off & Early-Bird Breakfast
- Circle time (time for discussion, songs, social emotional)
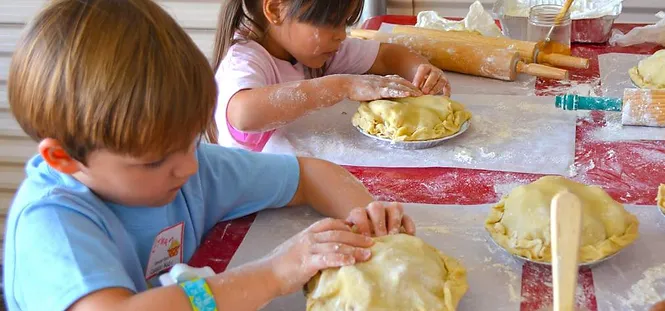
- Activity time (according to the projects, natural focus on literacy, math and science, and/or sign language for babies)
- Free play
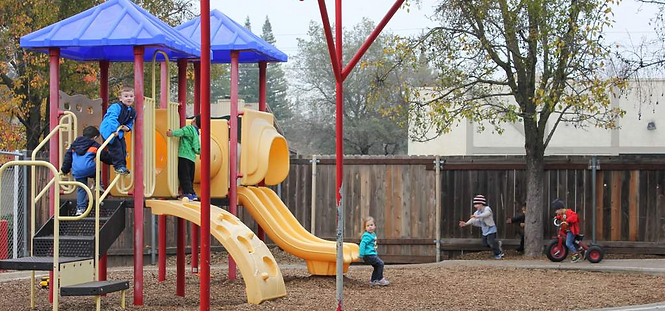
- Outside/Gym
- Circle time
- Lunch
- Outside Classroom experience
- Nap time or quiet activities
- Snack
- Free play in the centers “play with a purpose”
- Gym/Outside time
- Pick up time
Breakfast, snacks and lunch are provided and cooked onsite using fresh ingredients. (We buy organic or the highest quality available.)
We are located at the corner of Fair Oaks Blvd and Madison Ave, hidden behind the shops of Almond Orchard. You’re welcome to drop by!